I’m going to show you how you can get the most use from your planner today.
I have tried all my adult life to get organized and use a planner effectively. I can not tell you how many planners I have bought and tried to use.
good planners
online schedulers
expensive leather-bound planners
notebook sized
small purse size
but nothing worked for me. I never used one for more than a month before I tossed it aside and was back to writing in a series of spiral wire bound college ruled notebooks. I thought perhaps it was the size, or the brand, or the look of it that made me abandon it, but that wasn’t it.
How do other people do it? My BFF, Leah, faithfully uses a planner and has for years. What is their secret? What am I missing?
Well, I did discover the secret and am excited to share it with you!
What I discovered was that I wasn’t using it because it wasn’t working for me.
I was only using it for a calendar and trying to plan my life within the confines of little boxes with dates or lines with a time schedule. For many that will work for their life, but not me. I need more.
Guess what? A planner is more than a calendar and it can have sections. Yes, places to organize yourself! Woohoo, I finally get it! Sometimes I am really slow at catching onto things.
Today allow me to take you through mine so you can see exactly what I’m talking about. Who knows it may turn you into a Planner Girl.
Let me start by saying how you organize your planner is as similar and as different as our lives are. We are all at different stages and places in lives. Yours will not be the same as mine and that’s ok. We can make it our own very easily.
The first thing you need to do is look at your life and determine what it is that you need. For me I need a calendar, yes, we all do, but I also need a system to keep up with my online businesses and my social life. (I probably only need a post it for my social life, Ha!) You might need a system for keeping up with work and family, or work, family, and a side business. As I said, our lives are all the same and yet they are different. so look at yours and determine what it is YOU need.
The next thing I had to decide was how to divide my system up into sections that would work for me. Looking at my planner will help you determine how you will need to do yours because it is all about the sections that fit your life. Once I had that basic outline it was just a matter of finding a planner that would allow me to do just that.
Now there are many. many, many fabulous planners on the market and if you like to shop, go out and have a ball with this. Me, I’m not much of a shopper so I browse the web and then go out to buy local or order online.
What I am sharing with you today is just my personal choice for a planner, so don’t feel you have to buy this system. Trust me I get no money from touting their product. You buy what fits your specific needs and makes you happy.
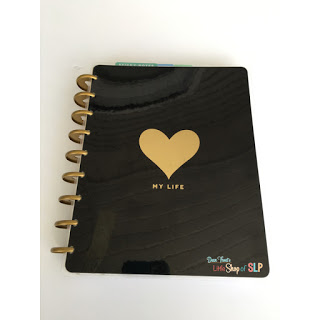
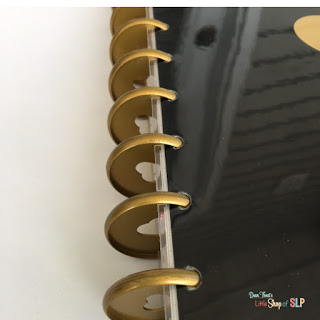
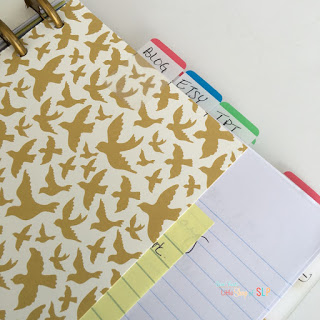
I use the Happy Planner from Create 365. It ticks all the boxes for me. One of the main reasons that I chose this particular planner was because it is adjustable, adaptable, changeable. I could make it my own and change my mind as many times as I needed to get it just right. It all binds together with round disks and all the pages even the covers and dividers are removable! I can put pages in and take pages out every easily. The disks have lips or edges that keep the pages in securely, but the pages just pull off without tearing when needed.
Here let me walk you through mine so you can see how effectively I use it.
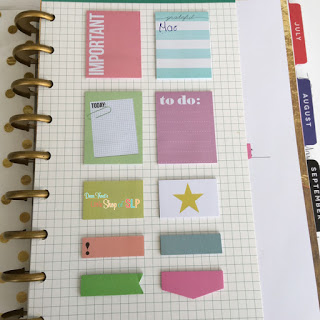
Open the cover and will find a page of sticky notes. I have them there for quick access when I’m planning my week or month. These are small sticky notes that fit within the boxes of my calendar, so I can remove and rearrange when things get canceled and rescheduled. For larger sticky notes I make a planner band that holds the traditional 3” size sticky note (Post It brand).
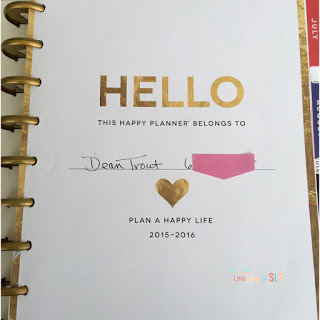
The next page is my “this planner belongs to page” so if I lose it hopefully some kind soul will call me and tell me they have it. ( Or they might ransom it.)
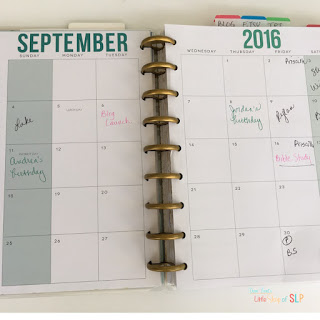
Next is where you’ll find my calendar. I have a 2 page spread month at a glance followed by a 2 page spread week at a glance. I don’t use a year at a glance but you may need that. I also want to point out that I never put the entire year in my planner because it makes it too bulky. I only put in the months by quarter. That works best for my life because it is a literal reminder to do my quarterly taxes and it is as far into the future as I want to look.
I want to take time here to elaborate on my calendar because this is one of the reasons I failed at using a planner previously. For the month at a glance, I only write in the important things of the month or the rare things that happen: appointments that I know are coming up, big events like weddings, birthdays, etc. You know what I’m talking about. I never put in the usual and customary events or routines.
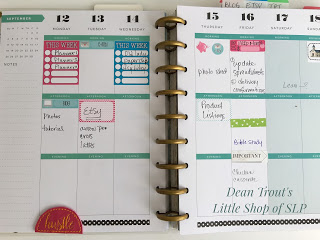
On my 2 page per week at a glance, is where I get real. I usually have something inspirational or spiritual on the side to focus me for the week. I write/sticker in any events that will occur that week with the time, then I plan my work for each day. I have found the trick of picking a “top 3” really makes me more effective in getting things done in a day. I am one of these people who can make a To-Do List a mile long. I am very unrealistic in what I can do in a day, LOL. This one little trick really helped me become more productive and effective.
Now, I’m ready to tell you about my sections. My planner has 6 sections and 6 more sub-sections. Yep, my planner is a 3-dimensional outline!! I never realized that until right now as I write this. Hopefully, that will give you clarity.
My sections and sub-sections are as follows:
I- Calendar
a)Months by quarter
II- How To:
III- To Do
a) TPT
b) ETSY
c) Blog
IV- Marketing
a) Pinterest
b) FaceBook
c) Instagram
V- Data
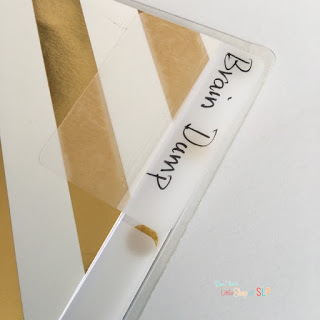
VI- Brain Dump
I’ve already told you about my calendar so I’ll begin with section II- How To.
In this section, I write down all those things I have a hard time remembering how to do when using Keynote/powerpoint, my Adobe Pro, or my TpT store. All those tech things that I forget how to do. Now I have it at hand and ready to reference. No more trying to remember how did I do that or having to post queries on FB to ask how. Smart, huh?
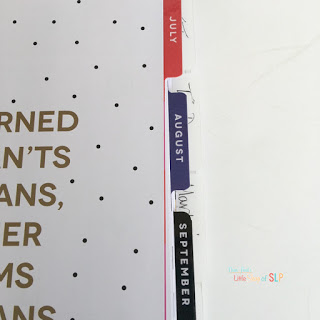
Section III is pretty self-explanatory. It is my TO DO pages of what I need to do for my businesses and my blog. To keep it straight I have those dived into 3 sub-sections: one for TpT, one for Etsy, and one for my blog. Each section in my planner is a regular right side tabbed divider and each sub-section is a divider with the tabs at the top.
In my next post, I will elaborate on these subsections as I do a tutorial on how to make your own dividers inexpensively.
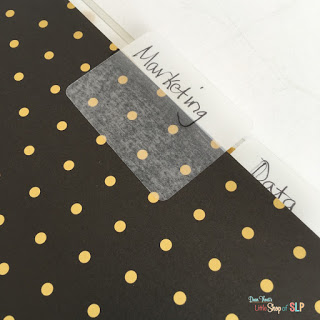
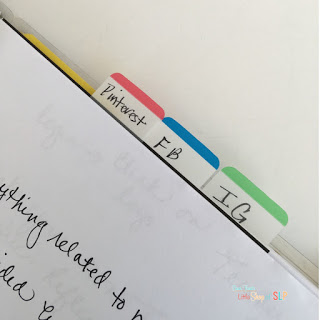
Section IV Marketing is where I keep my notes, ideas, and schedules for Pinterest, FB, and IG. Again they are sub-divided with tabbed dividers.
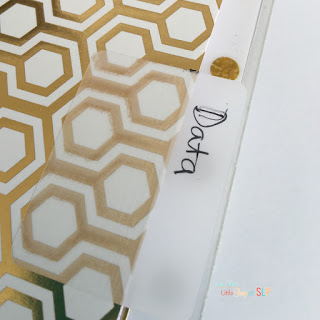
Section V- Data is where I keep a note of my data. I keep record of the monthly growth of my businesses. I track the number of followers I have in all social media, my sales, and my product submissions to newsletters, etc.
Section VI is my Brain Dump. This is where I write down all my ideas for future projects or advertising ideas. Just whatever is on my mind that I need to remember for future reference or that I need to get off my mind, so I can go to sleep or move on to another task.
So that is how my planner is set up and it works for me. I use it every day and it helps me stay on track and get things done.
Now think about your life and how you can improve it by using a planner.
I plan to have a couple more posts coming out on some DIY projects for your planner to save you money!
~~~~~~~~~~~~~~~~~~~~~~~~~~~~~~~~~~~~~~~~~~~~~~~~~~~~~~~~~~~~~~~






2 thoughts on “How You Can Get the Most Use From Your Planner Now”
Great Post! Thank-you!!!
I think I want the disc style planner too. I bought one for my friend for Christmas and I'm wondering why I didn't get one for myself!