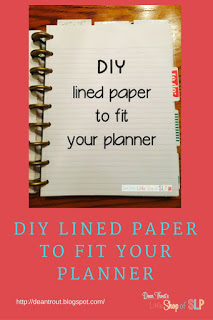
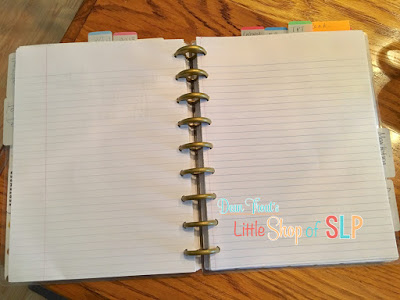
This is the last installment (for now) about planners. If you’ve ever looked at the price of additional sheets of paper for your planner you will be surprised to see they cost more than you’d think. I needed a cheaper way to get my planner paper because I use lots of paper. I write things down and tear it out and throw it away once I’ve completed whatever I had written down. That could be very expensive if I bought the brand name stuff.
I want to tell you how you can inexpensively make your own lined paper for your personal planner. My planner is the Happy Planner which is about the same size as the Erin Condren so it will be easy enough for you to modify my measurements for your own personal use. Take one sheet out of your planner and measure the width and length and then you’ll have your exact measurements for your planner.
I like to write on lined paper because my handwriting runs uphill. I read somewhere that that is a sign of optimism. I like to think that is true. So how do I make my own lined paper for my planner? I just convert regular notebook paper to the size I need.
(This was all I needed)
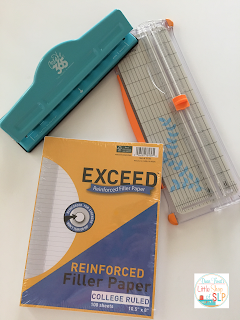
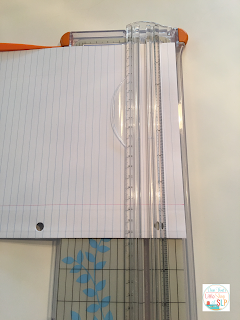
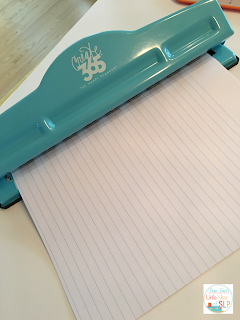
Gather your supplies. You will need notebook paper, a ruler, scissors, and a hole punch. You can use the regular scissors and hole punch you have at home, or you can buy the large Fishers cutter that has a built in ruler and the hole punch for your specific planner. This is what I have. As I mentioned in a previous post I bought the Create 365 punch so I could create my own things for my planner. I have recouped the cost of the punch already with the two projects I have told you about. I also want to mention that I got this notebook filler paper at Walmart and love the weight. It is not flimsy at all and it is reinforced. Niiiice! But unfortunately, I’ll be cutting most of the reinforcement away. Oh well, this is basically scratch paper anyway.
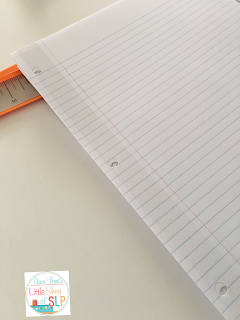
(See that reinforced strip?)
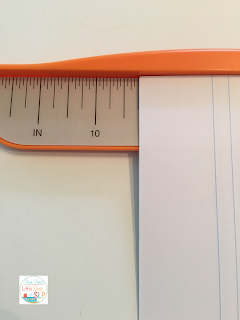
My paper needs to be cut to 7 by 9.25 inches to fit my planner, so I measure and cut my paper to those dimensions. I like the wide margin at the top of my pages so I cut the length from the bottom and the width from the left side where the holes are. I don’t need those holes because they don’t work with my planner. If you don’t own one of these large cutters, you can use one of the pages from your planner as a template and draw the shape onto your paper, then cut out with scissors.
(cut from the bottom edge)
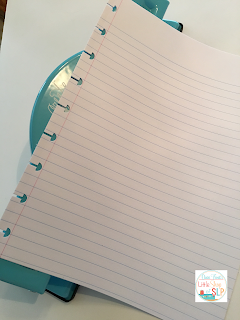
After the paper is cut to size I then punch my holes. If you don’t have a hole punch specifically for your planner you can use a page from your planner and mark where the holes go and use your single hole punch to punch each individual hole out. After the holes are punched out make a snip in each hole on the left side so that it will snap into your rings or disks.
(Perfectly aligned holes that fit my planner.)
Quick and easy peasy. This paper fits so perfectly in my planner! I just snap it in. I put blank sheets in each section and I’m ready to go! Now, how easy was that?
You can see all my planner accessories in my Etsy.
